Home of The Shuttle...
Home The Cars The Humor Contact Me
Visitor Number
|
Welcome
to
TurboCelica.com.. Home of The Shuttle... |
Navigation
Menu Home The Cars The Humor Contact Me |
Visitor Number |
|
Chris' '90 Toyota
Celica All-Trac Turbo
(aka "The Shuttle") Autronic SMC Installation Details |
Updated: February 11, 2021 |
| Installation Overview | The Install Crew | The Parts List |
Tools & Skills Needed |
| Distributor Mod | Installation Photos | My EMS FAQ | Wiring Details |
| Installation Overview | Top |
Installation essentially entails mounting the SMC unit in a convenient location (I chose the glove box), modifying the distributor, and a good bit of electrical wiring. That's it, nothing too mysterious or spectacular about the install. Yes, it can be rather tedious, but, it's not rocket science. It is simply a lot of "this wire goes from here to there." A good installation requires patience, as well as some expertise with wiring and general hand-tools.
I wish to express many thanks to fellow GT4 owner Dennis in Barbados, who has an Autronic SMC system on his GT4, and has provided assistance and support in my effort to install the SMC and getting the car running. Here is his web site.
| The Install Crew | Top |
The Autronic SMC was installed in The Shuttle over the weekend of Sept. 30 and Oct 1, 2000, by myself and two fellow GT-Four / All-Trac owners, Tyler and Tarik. They both flew-in on Friday evening and departed Sunday evening. Tarik came from near San Jose, Ca. and Tyler flew in from Raleigh, NC. I sincerely appreciate their assistance in this effort.
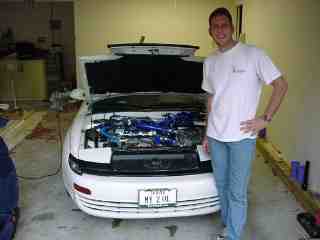 Yours truly... |
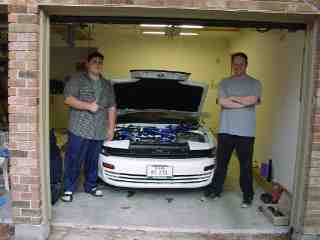 Tarik (left) and "too-cool" Tyler (right). |
| Parts List | Top |
|
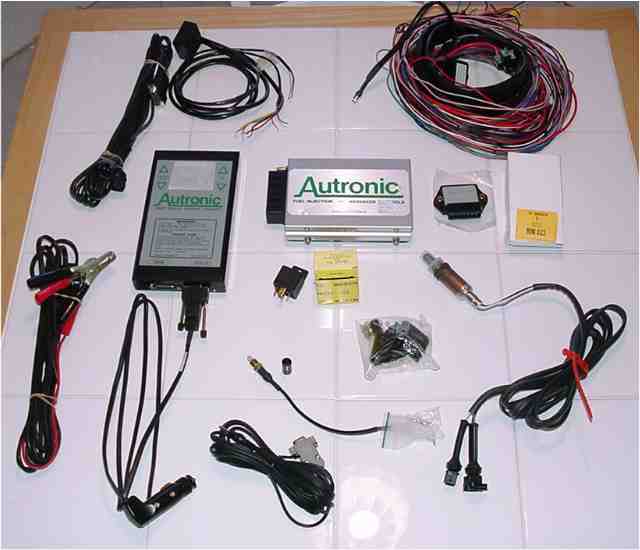 |
Other items needed include an assortment of tie-wraps, an assortment of aluminum strips, electrical tape, solder, wire loom, and an assortment of male/female electrical wiring connectors. Aside from the aluminum strips which are available from Home Depot, you can get everything you need online from JC Whitney.
| Tools & Skills Needed | Top |
The tools needed for a successful install include a drill and drill bits, 1/8" NPT tap, a medium flat bastard file or a Dremel tool, knife, wire cutters and strippers, soldering iron, as well as a well-stocked tool box of screwdrivers, wrenches, and sockets. It goes without saying that the knowledge and skills to operate these tools is also needed. A factory Toyota wiring diagram is also strongly recommended.
| Distributor Mod | Top |
Let me be clear. If you purchase a US-spec Autronic SMC from Alamo Autosports, you will not need to modify your distributor as I have described here. I have the non-US spec Autronic SMC EMS which requires the removal of 20 of of the 24 teeth on the reluctor. Essentially, every 6th tooth is kept and all others are removed. This mod leave the reluctor wheel with only four teeth. It is easily accomplished through the use of either a flat bastard file or a Dremel. I didn't own a Dremel tool at the time when the Autronic was installed. So, I give many thanks to Tyler for his tireless patience in filing off the unnecessary teeth from the reluctor. I do not have a photo of this at present, but I will get one.
| Installation Photos | Top |
 Here's the SMC unit installed into the glove
box next to the Greddy Turbo Timer and Profec-B electronic boost controller. Here's the SMC unit installed into the glove
box next to the Greddy Turbo Timer and Profec-B electronic boost controller. |
|
|
Return to The Shuttle's Autronic EMS page |